
How Do You Repair Damaged Siding?
Your home’s siding helps keep your house safe and looking good. But over time, it can get damaged from bad weather, moisture, or simple wear and tear. If you’re searching for reliable Woodburn siding repairs, the good news is that you don’t always need a full replacement. Sometimes, small repairs are all it takes to keep your siding strong and your home protected.
In this article, we’ll walk you through how to spot damage, decide whether to repair or replace, and explain how siding repairs are done.
Signs Your Siding Needs Repair
It’s easy to overlook small issues, but catching damage early can save you money and time. Here are a few things to watch for:
- Cracks or holes in the panels
- Loose or warped sections that don’t sit flat
- Soft spots that feel spongy, which could mean water damage
- Peeling paint or mold near the edges
- Bubbling or bulging areas that signal trapped moisture
If you see any of these signs, it’s a good idea to take a closer look or call someone to inspect it.
Repair or Replace?
Not sure whether to repair a small area or replace all the siding? Here’s a simple way to decide:
- Repair if the damage is small, like one or two panels, and the rest of the siding is still in good shape.
- Replace if the damage is widespread, water has gotten behind the siding, or your siding is old and showing signs of wear all over.
Repairs are usually cheaper upfront, sometimes around $100 to $800 depending on the material. But if you’re spending money on repairs every year, a full replacement might save you more in the long run.
How Siding Repairs Are Done
Let’s break down the basic steps for fixing damaged siding. The exact process depends on the type of siding, but here’s what’s usually involved:
1. Check the Damage
Start by inspecting the siding carefully. Focus on the lower sections near the ground and areas around windows and doors. Look for moisture, mold, or parts that don’t feel solid.
2. Remove the Damaged Panel
Using tools like a pry bar or siding removal tool (often called a zip tool), gently remove the damaged panel. Be careful not to damage the good panels around it.
3. Inspect the Area Underneath
Once the siding is off, check what’s behind it. If there’s rotting wood or mold, that will need to be fixed before new siding can go on. Add a water-resistant barrier like house wrap or building paper to keep moisture out.
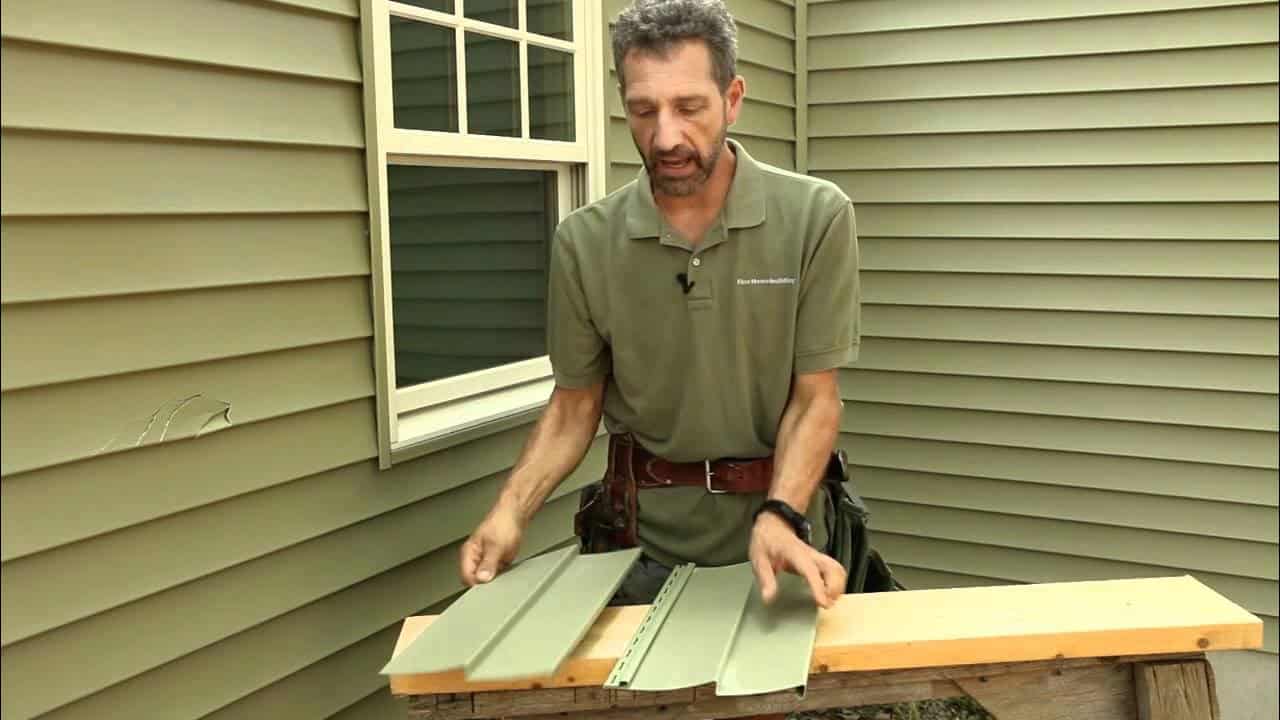
4. Cut and Install the New Panel
Cut a new piece of siding to fit the space. Make sure it lines up with the existing siding. Slide it into place and secure it with nails, just be careful not to hammer too tightly, or the siding might warp.
5. Seal and Finish
Use caulk to seal any gaps around seams or edges. If needed, paint the new panel to match the rest of your siding. This helps protect it and keeps your home looking nice.
Preventing Future Damage
Want to make your siding last longer? Here are a few easy tips:
- Clean your gutters so water doesn’t overflow onto your siding.
- Trim back bushes to let air flow and keep moisture away.
- Check for damage once a year and fix small problems before they get worse.
- Keep sprinklers from spraying directly onto your siding.
When to Call a Pro
While many small siding fixes can be done yourself, there are times when it’s smart to bring in a pro. If the damage goes deep into the wall, if large areas are affected, or if you’re unsure what to do, don’t risk it. Professionals have the right tools and training to make sure your home stays safe.
Final Thoughts
Fixing damaged siding doesn’t have to be a big job. With the right tools and a little know-how, you can take care of small issues before they turn into big ones. But if your siding is older or the damage keeps coming back, it might be time to think about replacing it. Either way, keeping your siding in good shape means protecting your home for years to come.